We got a candle making kit and decided to try it out. It was fun, we learnt a few things, made some mistakes, and finally made a candle!
This process teaches principles from Physics, Chemistry, colour mixing, patience, preparation and timing.
Here is what you will need:
- Time: 30 minutes
- A small steel pan [like in your kids kitchen set] which you are sure will not be used for anything else since it will contain wax later.
- A flat bottom pan to heat water bigger than the steel pan above, in which we will place this steel pan.
- Adult supervision
- Gas or similar heat source
- Candle making kit
- Camera to record your experiment

Steps:
Read the instruction manual first. Very important.
Select the shape you want to use for your candle. Measure appropriate number of spoons of wax pellets into the steel pan.

We selected the square pyramid shape, so used 5 tea spoons.

Pour water into the bigger pan, place smaller steel pan carefully into it.

Keep on hob and light it.
Let the wax melt.
In the meantime, take some cooking oil and daub the inside of the mould [use an ear bud]

Select the wick, cut it 2 inches longer than the length of the candle, immerse it in the molten wax, remove and keep it aside to cool. Tie it to the stick.

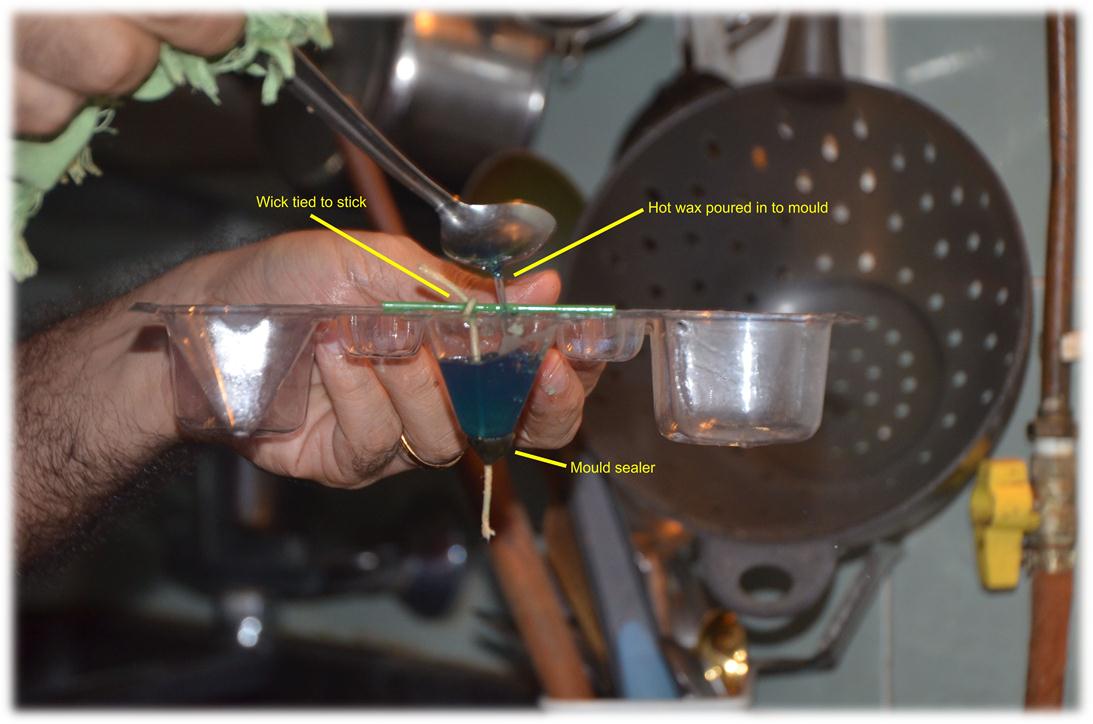
Pierce the bottom of the mould, pull the wick through it, and seal the bottom with sealer as shown [very important to prevent wax from dripping down while pouring in the mould]

The wick has to be tied to a stick

By now the wax should have melted fully. Cut small pieces of colour, and put into the molten wax.

Watch the colour melt into the molten wax, it is beautiful!


Now it is time to add stearin, which is a pale yellow powder, into the wax. Then get ready to pour this mix into the mould prepared for it.
We poured the wax using a teaspoon, slowly, so as to avoid air bubbles getting trapped inside the mould.
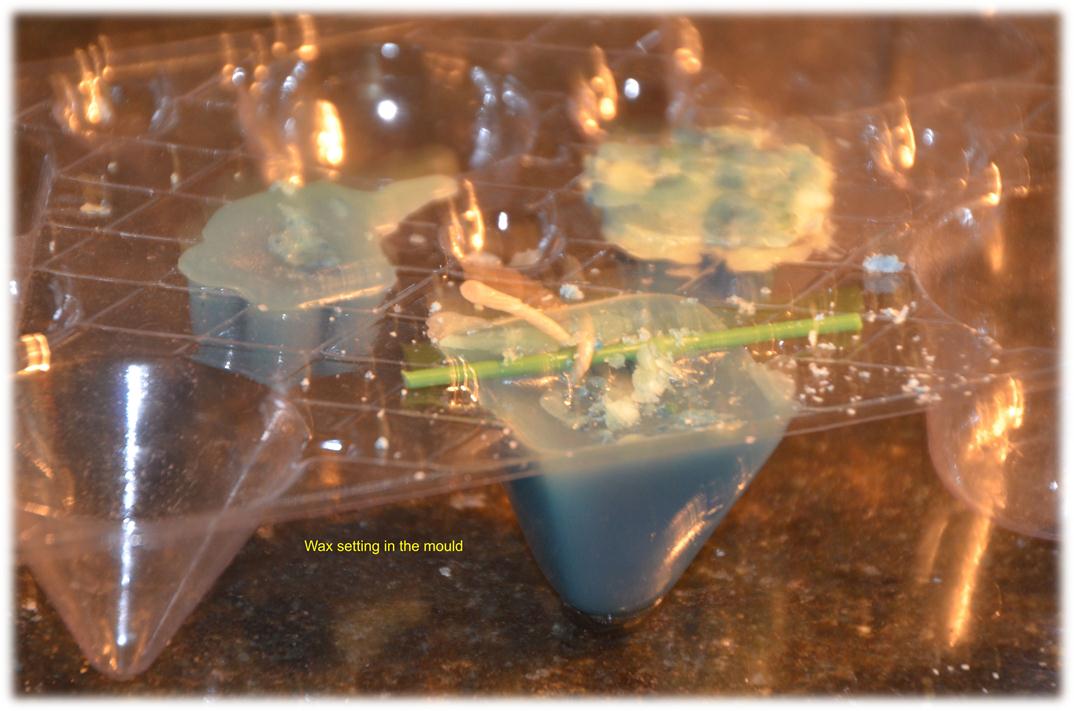
Keep it on a firm cool surface to set, for a few hours.

We had some extra wax so we poured it onto the adjoining mould for two floating candles. These do not need a wick before hardening.
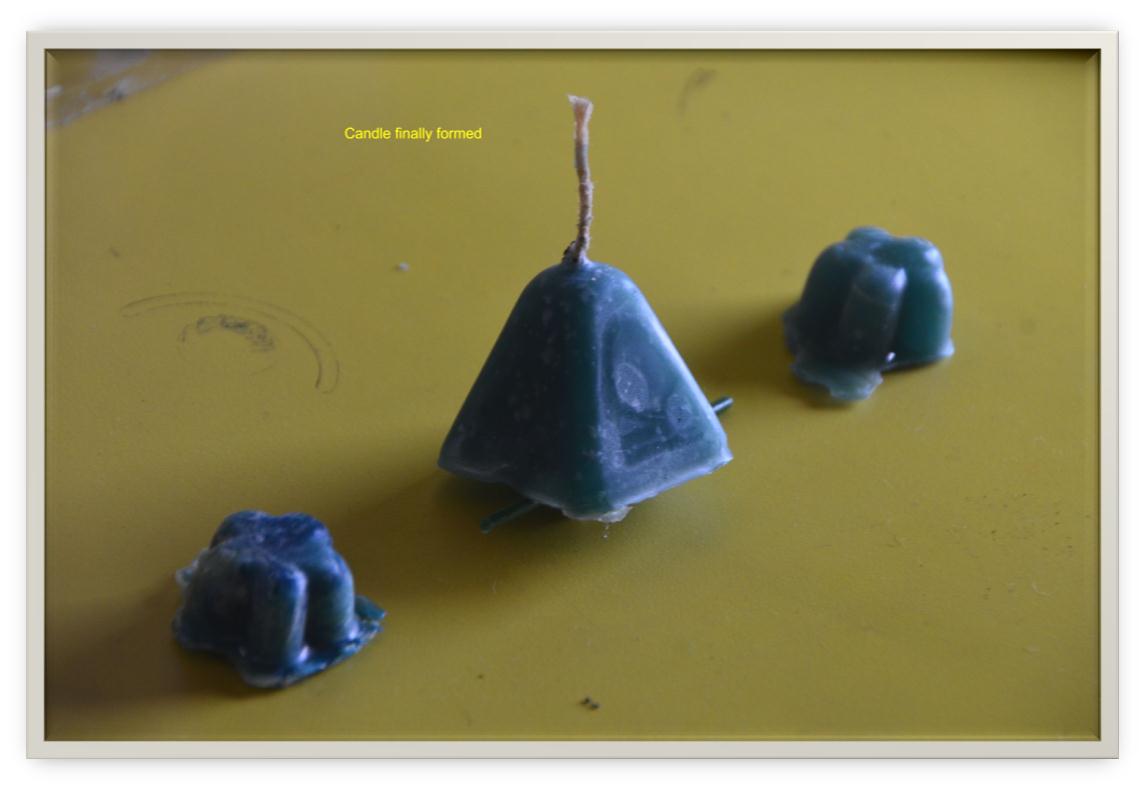
Finally after a long wait, out came our first candle!
Here it is!
Looks so lovely, especially considering all the hard work put into its making!


Leave a comment